As a professional...
Custom Christmas Cookie Tin Guide
Creating a custom Christmas cookie tin can be a delightful and personal gift during the holiday season. Here's a step-by-step guide to help you design and assemble your own custom Christmas cookie tin:
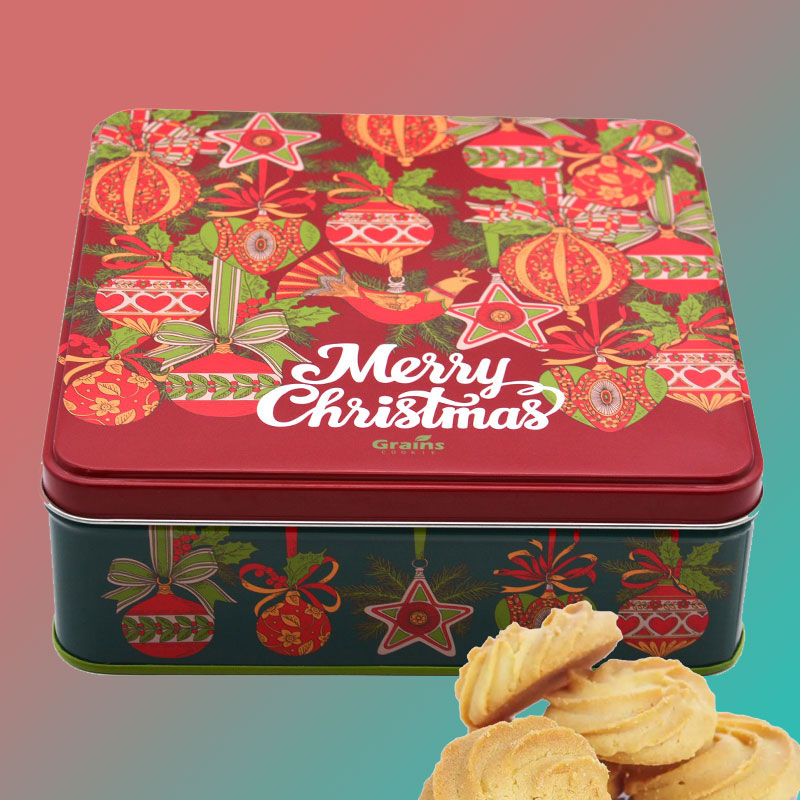
Select a Tin:
Choose a tin or container that suits your preferences and the number of cookies you plan to include. You can find tins in various shapes, sizes, and designs at craft stores, online retailers, or even repurpose an old tin.
Gather Materials:
To create your custom Christmas cookie tin, gather the following materials:
Tin or container
Decorative paper or wrapping paper
Scissors
Craft glue or double-sided tape
Ribbons, bows, or other embellishments
Optional: stickers, markers, or other decorative elements
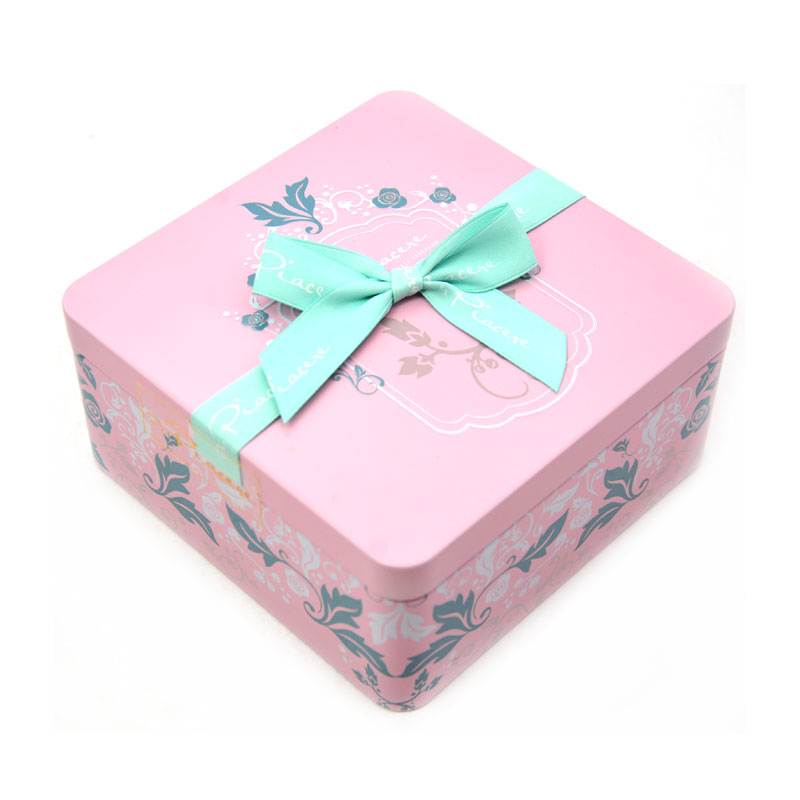
Measure and Cut:
Measure the dimensions of the tin lid and bottom. Using those measurements, cut the decorative paper or wrapping paper to fit each section. Ensure that the paper is large enough to cover the entire surface with a bit of overlap.
Apply Glue or Tape:
Apply a thin layer of craft glue or double-sided tape to the back of the cut paper pieces. Carefully position them on the tin lid and bottom, smoothing out any wrinkles or air bubbles. Press firmly to ensure they adhere properly.
Trim Excess Paper:
Trim any excess paper hanging over the edges of the tin using scissors. Take your time and make precise cuts for a neat finish.
Add Decorative Elements:
Enhance the appearance of your custom Christmas cookie tin by adding decorative elements. Attach ribbons, bows, or other embellishments around the edges, or create a border with stickers or markers. Let your creativity shine!
Personalize with Names or Messages:
Consider personalizing the tin by adding names, messages, or other festive greetings. You can write directly on the paper with markers or use stickers with pre-printed messages.
Prepare the Interior:
Line the inside of the tin with wax or parchment paper to keep the cookies fresh and prevent them from sticking to the tin. Cut the paper to fit the dimensions of the tin and place it inside neatly.
Fill with Delicious Cookies:
Now it's time for the best part! Bake or buy your favorite Christmas cookies and arrange them inside the tin. You can layer them with additional sheets of wax or parchment paper to separate different types of cookies and prevent them from touching.
Seal and Gift:
Close the tin carefully to ensure it's securely sealed. Consider wrapping the tin with clear cellophane and tying it with a festive ribbon or bow for an extra touch. Your custom Christmas cookie tin is now ready to be gifted!
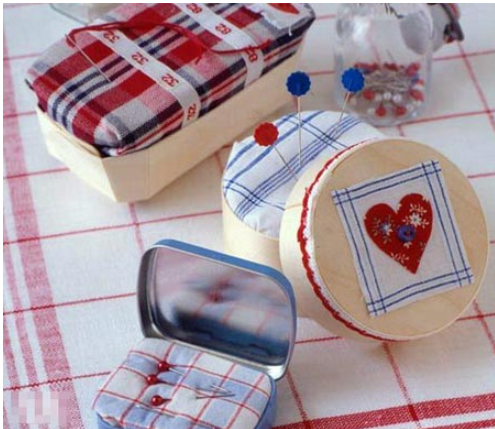
Remember, you can customize your cookie tin in endless ways. Feel free to experiment with different papers, colors, patterns, and decorations to suit your personal style and the recipient's taste. Enjoy the process and have fun spreading holiday cheer!













Latest comments