In the global...
How to Design a Wedding Candy Tin Box
Designing a wedding candy tin box can be a fun and creative project. Here's a step-by-step guide to help you design your own wedding candy tin box:
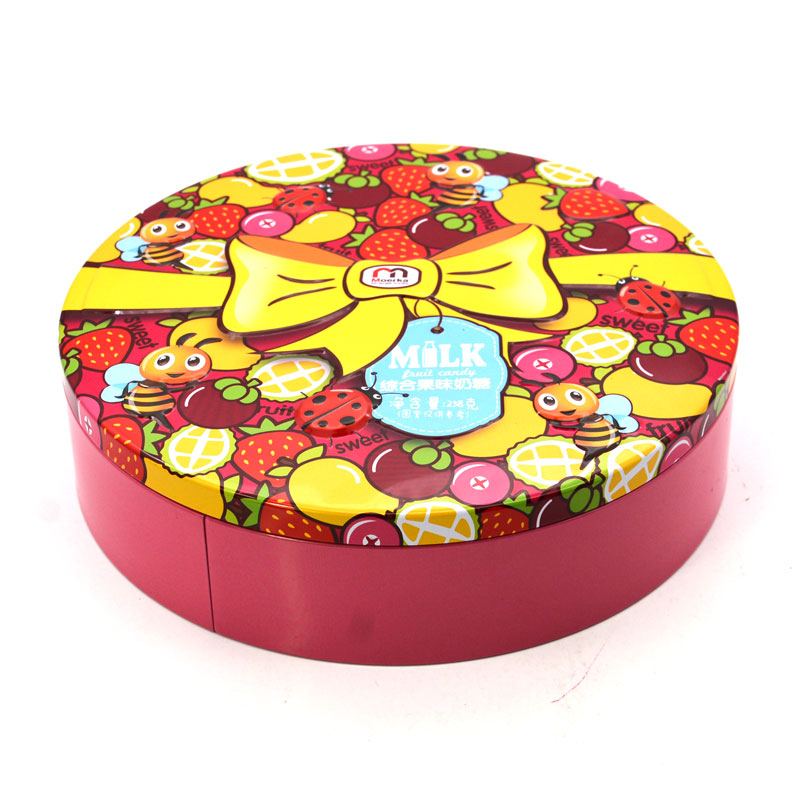
Determine the Purpose: Decide on the purpose of the candy tin box. Will it be used as wedding favors, table decorations, or both? Understanding its purpose will guide your design decisions.
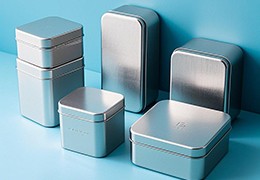
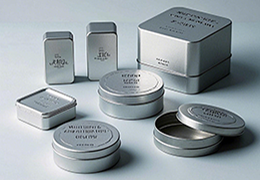
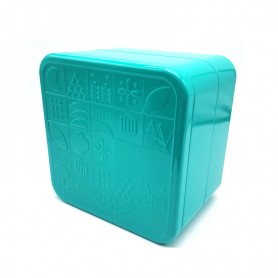
Select the Shape and Size: Choose a shape and size for your candy tin box. Popular shapes include rectangular, square, round, or heart-shaped. Consider the dimensions based on the quantity and size of candies you plan to include.
Material Selection: Select a suitable material for your tin box. Common options include metal, such as tinplate or aluminum, or food-safe plastic. Make sure the material is safe for storing food items.
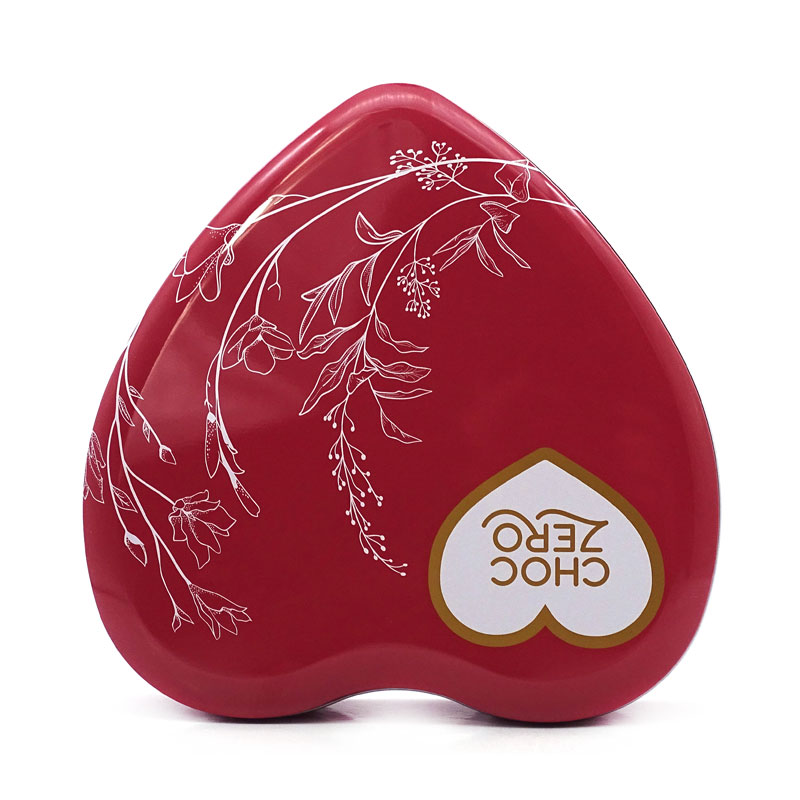
Sketch the Design: Use paper and pencil to sketch your initial design ideas. Consider incorporating elements that match the wedding theme, such as floral patterns, the couple's monogram, or colors that match the wedding palette. Experiment with different layouts and arrangements.
Graphic Design Software: Once you have a rough sketch, transfer your design to a graphic design software like Adobe Illustrator or Canva. This will allow you to create a digital version of your design and make further adjustments easily.
Choose Colors and Fonts: Select a color scheme that complements the wedding theme and coordinates with the overall design. Consider using fonts that are elegant and legible. Make sure the text is clear and easy to read.
Decorative Elements: Add decorative elements like borders, patterns, or illustrations that enhance the design. You can include floral motifs, lace patterns, or any other design elements that reflect the couple's style and wedding theme.
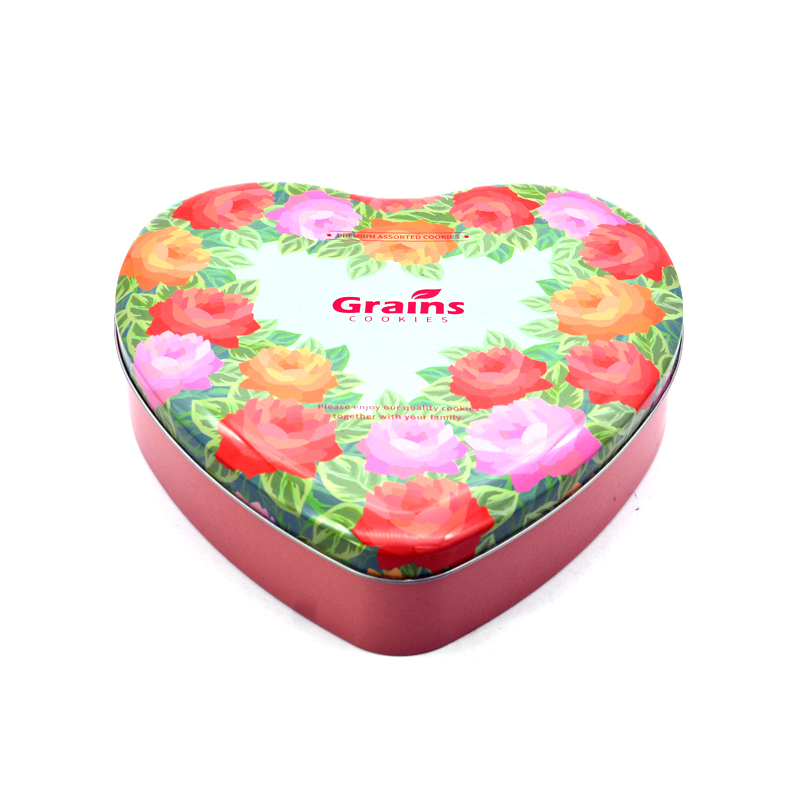
Personalization: Consider personalizing the candy tin box with the couple's names, wedding date, or a heartfelt message. This adds a special touch and makes the favor more memorable.
Mockup and Test Print: Once you are satisfied with the digital design, create a mockup or test print to ensure that the design fits well on the tin box. Adjust the size or layout if necessary to achieve the desired look.
Print and Assemble: Once you have finalized the design, print it on adhesive paper or cardstock, depending on the material of the candy tin box. Cut out the design and apply it to the tin box carefully. Make sure it adheres securely and is centered properly.
Finishing Touches: Consider adding additional embellishments like ribbons, bows, or stickers to further enhance the appearance of the candy tin box. This can add an extra layer of elegance or personalization.
Remember to test the functionality of the candy tin box by opening and closing it several times to ensure it functions properly and securely holds the candies. Once you are satisfied with the design and construction, you can fill the boxes with delicious candies and enjoy the final result at your wedding.
.jpg)





Latest comments